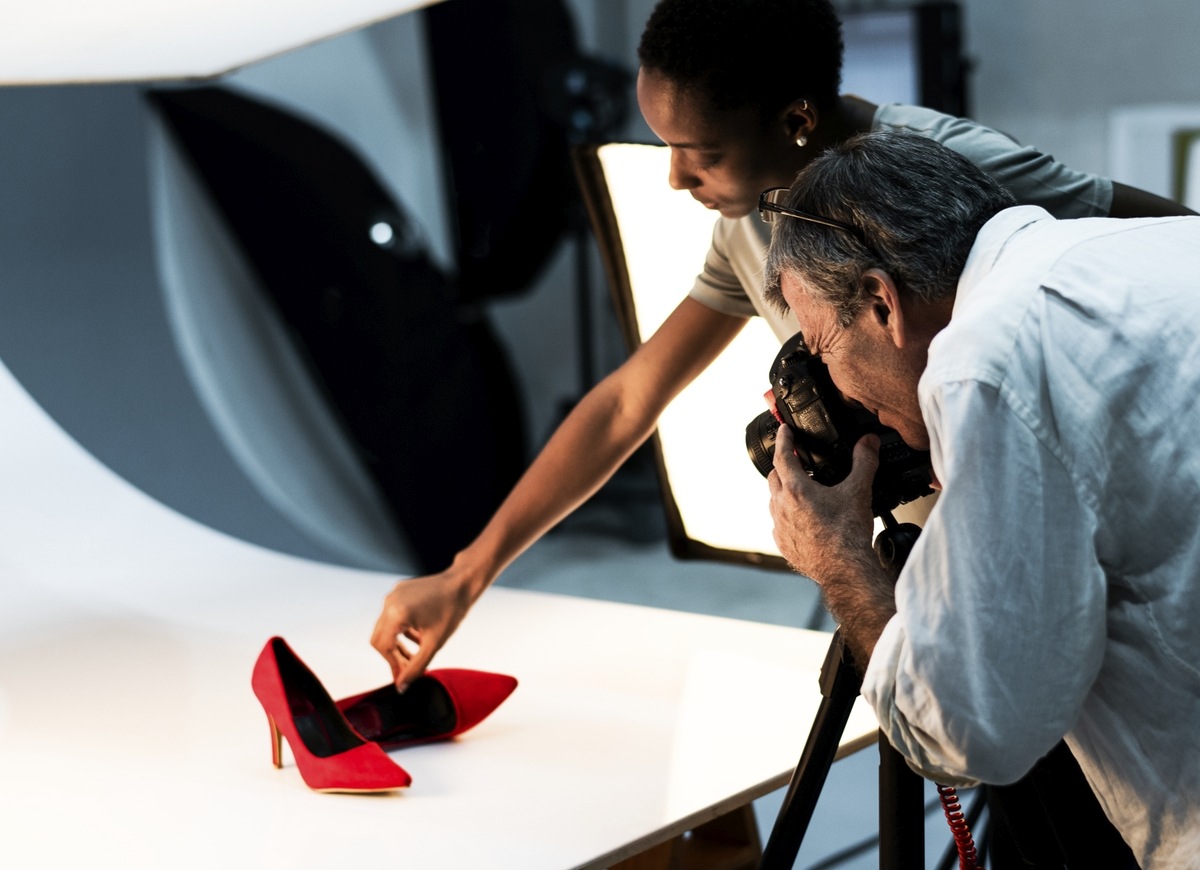
How to Take Good Product Photos for Your Online Store
Written by
Kinga EdwardsPublished on

If you’re an online store owner, then you know the importance of good product photos. They are one of the most important factors that customers consider when making a purchase. In this blog post, we will discuss some tips on how to take good product photos for your online store!
Lighting is key – make sure your photos are taken in a well-lit area
Natural light is best, but if you don’t have access to that, then artificial lighting will work as well. Just make sure that the lighting is not too harsh or too dim. When in doubt, you may want to use a light diffuser to soften the light.
Use a tripod – this will help you keep the camera steady and avoid blurry photos
Tripod is a must if you want to avoid blurry and shaky photos. It will also help you keep the camera in one place so you can take multiple photos from different angles without having to move the camera around too much.
If you don’t have a tripod, then you can try propping the camera up on a stack of books or something similar. Just make sure that the camera is stable and not in danger of falling over.
Invest in camera or photoshoot – really
Invest in a good camera – this doesn’t mean that you have to spend a lot of money on an expensive DSLR, but getting a decent point-and-shoot camera will make a big difference in the quality of your photos.
A good camera is important, but it’s not the only thing that matters. Even with a point-and-shoot camera, you can still take great product photos as long as you know how to use it properly.
Choose the right background – a simple, solid-colored background works best
Avoid busy patterns or distractions in the background. A plain white or black background is usually best. If you’re using a light box, then you don’t need to worry about this as much since the lightbox will already have a solid-colored background.
It’s also important to make sure the product is in focus and there aren’t any distracting elements in the background. If you can, try shooting against a plain white or black backdrop.
Take multiple photos from different angles
This will give you more options to choose from when you’re editing the photos. It’s better to have too many photos than not enough. After taking multiple photos, you can conveniently choose the best ones and enhance them using this automatic photo editor to achieve professional-looking images. While it can be time-consuming to take photos from different angles, it’s worth it in the end.
The rule of thumb is to take at least three photos of each product from three different angles. One photo should be a close-up of the product, one should be a full-body shot, and one should be taken from an angle (e.g., overhead, side, etc.).
Edit your photos
Once you have all of your photos, you will need to edit them. This can be done with a simple photo editing program like Photoshop, BeFunky, or GIMP. If you’re not familiar with how to use these programs, then there are plenty of tutorials available online. Just make sure that you don’t overdo it with the editing – sometimes less is more!
Once you’ve taken all of your photos, it’s time to edit them. This is where you can really make your product photos pop. Start by cropping the photo so that it’s centered on the product. Then, adjust the brightness and contrast so that the product is clear and easy to see. Finally, add a vignette (a soft black border) around the edge of the photo to make the product stand out even more.
Make sure your products are clean and free of wrinkles or dust
This may make or break your photos. If your products are not in pristine condition, then it will be very difficult to get good photos of them. Make sure to take the time to clean and iron your products before taking photos of them, as this may impact your sales. Furthermore, try to take photos in a clean environment so that the background is not cluttered.
Show the product in use
Camera, action! This is your chance to show off your product in use. Customers want to see how the product works and what it looks like in real life. If possible, try to shoot a short video of the product in use as well. This will give potential customers a good idea of what they’re buying, as well as increase your chances of making a sale.
When taking photos of products in use, make sure that the lighting is good and that the product is in focus. It’s also important to capture different angles so that customers can see the product from all sides.
Include close-up shots
While it’s important to have full-body shots, close-up shots are just as important. Customers want to see all the details of the product, so make sure to include at least one close-up photo.
Include several photos from different angles, including at least one close up shot. Giving your customers a chance to see all the details of your product will help increase your chances of making a sale.
Use props to add interest or context to your photos
If you’re selling clothing, then it’s a good idea to use models or mannequins to show off the products. This gives potential customers a better idea of how the product looks on a person, as well as what size it is. If you’re selling jewelry, then you can try using different props to show off the piece in different ways. For example, if you’re selling a necklace, then you can try draping it over a mannequin’s head or neck, or even hanging it from a piece of string.
Show the texture or structure of your products
This is especially important for products that are made of fabric or have a lot of detail. Customers want to see what they’re buying, so make sure to include photos that show off the texture or structure of your product.
If you’re selling clothing, then make sure to include photos that show off the fabric. If you’re selling jewelry, then try to take close-up shots that show off the detail of the piece. The more detailed you can be, the better.
Use a white background (if suitable)
A white background is ideal for product photos because it makes the product stand out. If you’re selling multiple products, then you can use a white backdrop to take photos of all of your products at once. This will save you time in the long run, as you won’t have to edit each photo individually.
If you don’t have a white backdrop, then you can try using a sheet or piece of paper. It’s way better than anything that ‘s not white, but it’s not ideal. If you can, try to find a white backdrop or use photo editing software to make the background white.
Avoid direct sunlight
If you’re taking photos outside, then make sure to avoid direct sunlight. The harsh light will cast shadows on your products and make them difficult to see clearly. Instead, try to take photos in the shade or during golden hour (the hour before sunset). This will help you get softer, more flattering light.
Taking photos during golden hour will help you get softer, more flattering light. Avoid direct sunlight, as it will cast shadows on your products and make them difficult to see clearly.
Over to you
While there’s no one-size-fits-all solution for taking good product photos, these tips should help you get started. Just remember to keep your audience in mind and to focus on creating photos that are clear, well-lit, and detailed. With a little practice, you’ll be a pro in no time!


